



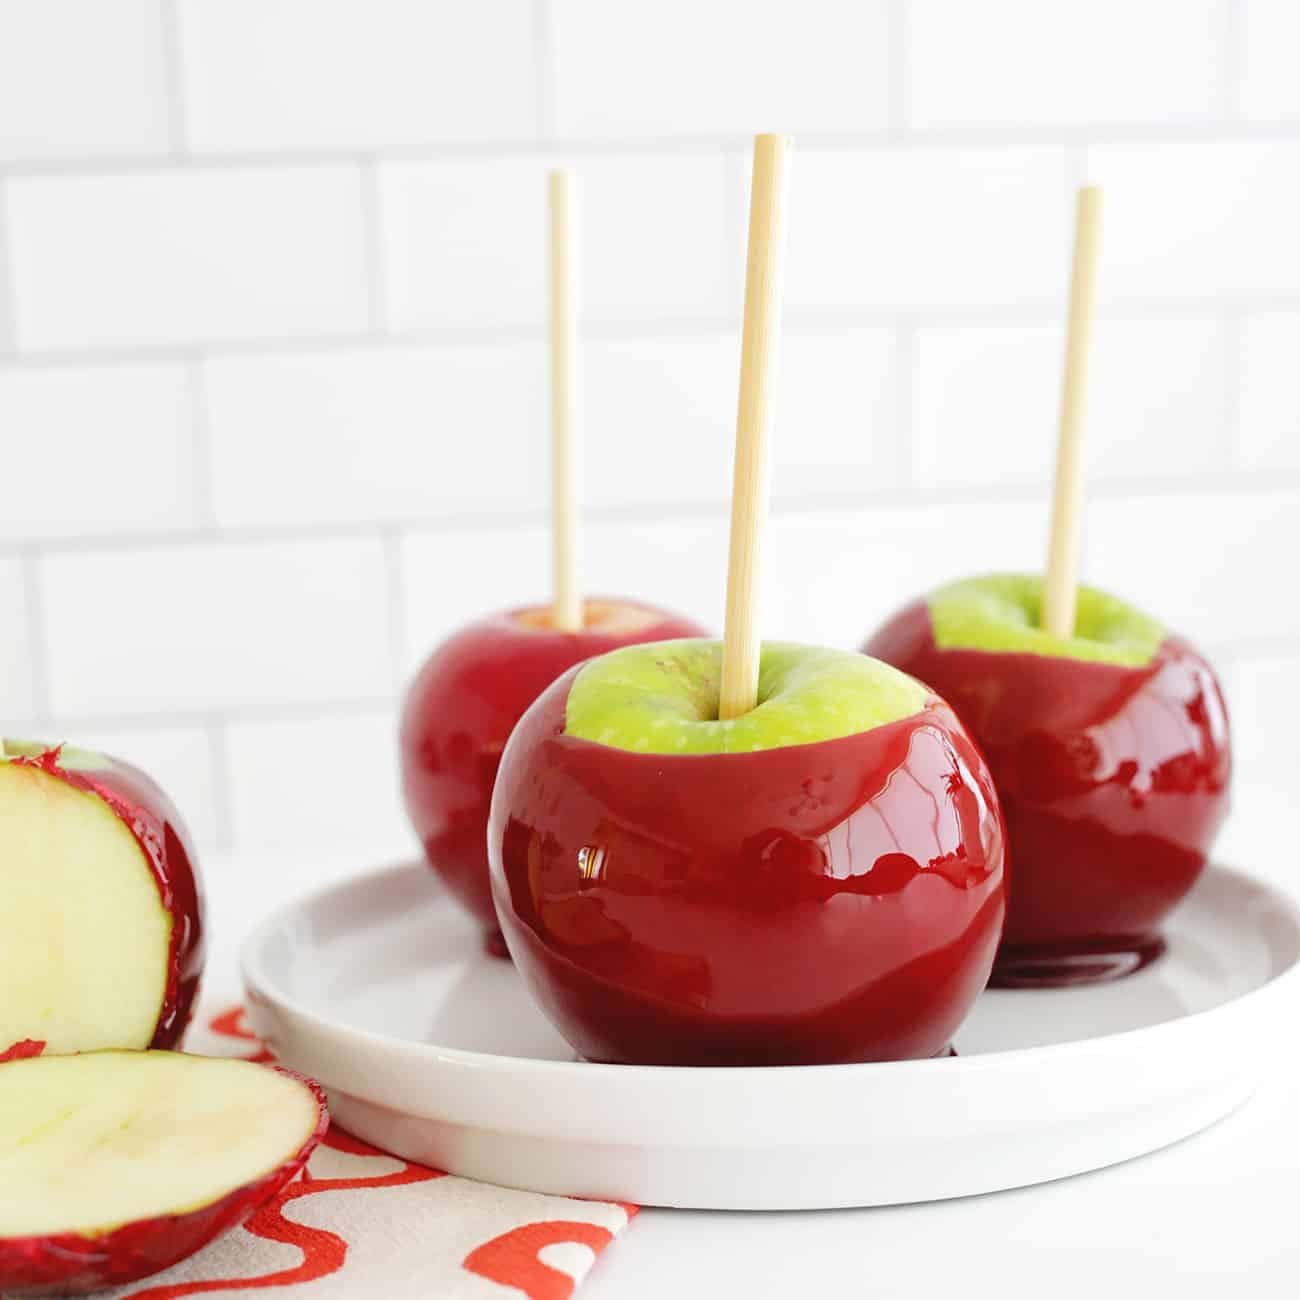

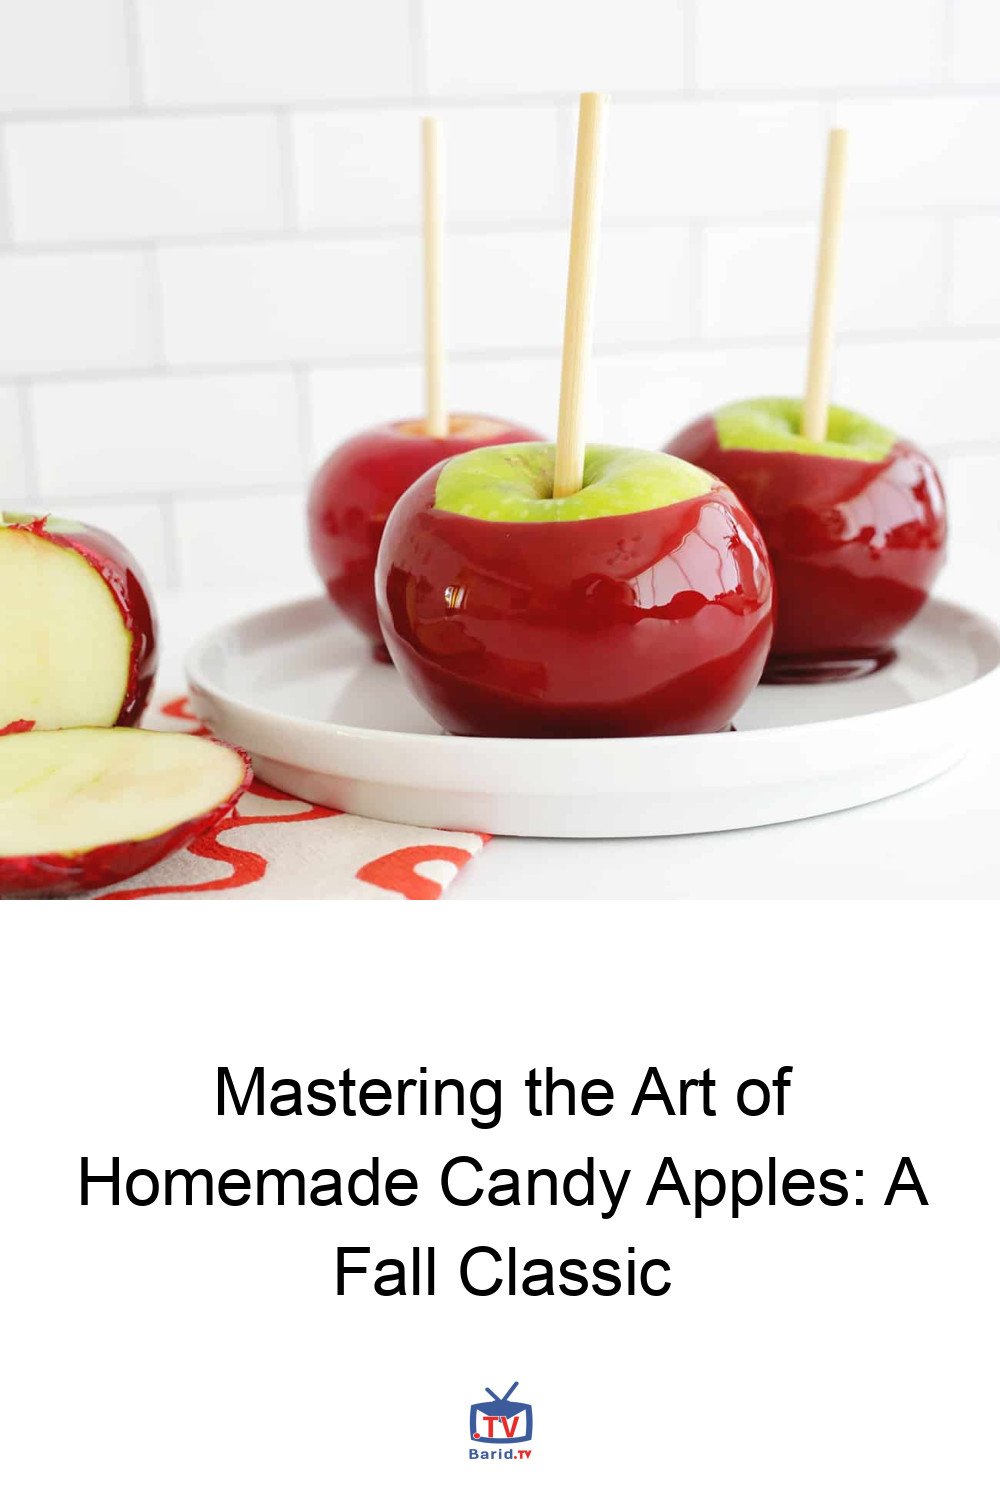
As autumn leaves begin to fall and the air turns crisp, few treats evoke the nostalgic charm of the season quite like the classic candy apple. With its brilliant, glossy red shell encasing a crisp, sweet, or tart apple, it’s a quintessential delight for fall festivals, Halloween gatherings, or simply a trip down memory lane. While their dazzling appearance might suggest a complex culinary feat, crafting perfect candy apples at home is surprisingly straightforward – much like mastering our beloved Caramel Apples!
A Crucial Safety Note: Due to the extremely high temperatures involved in sugar work, this project is not recommended for young children. Please ensure adult supervision and caution to prevent burns. Let the little ones enjoy the delicious end result, rather than participating in the preparation.
The Allure of the Candy Apple: A Sweet History
What exactly is a candy apple? At its heart, it’s a whole apple, impaled on a stick, then generously dipped in a molten sugar mixture that cools to form a thin, hard, and irresistibly crunchy candy shell. Though most famously red, these confections can be tinted in a spectrum of colors. Their sweet journey began in 1908, when New Jersey candy maker William Kolb first introduced them. Interestingly, many early recipes incorporated Red Hots candies, lending a distinct cinnamon kick that some enthusiasts still seek to replicate today.
Beyond candy apples, the autumn season offers a bounty of baking inspiration. Explore other delightful fall recipes such as: Easy Pumpkin Cookies, Homemade Caramel Sauce, Baked Apple Donuts with Cinnamon Sugar, Pumpkin Bread, and No Bake Caramel Apple Cheesecake.
Essential Ingredients for Flawless Candy Apples
Choosing Your Apples
The foundation of a great candy apple is, of course, the apple itself. For optimal results and a higher yield per batch of candy coating, opt for smaller, firm varieties with a pleasingly round shape. While the tartness of Granny Smith apples makes them a perennial favorite, any firm apple you enjoy will work beautifully. Consider varieties like Gala, Fuji, or Honeycrisp, steering clear of softer options such as Macintosh, which may not hold up as well under the hot coating.
Crafting the Perfect Candy Coating
- Granulated White Sugar: The cornerstone of your candy coating, providing its signature sweetness.
- Light Corn Syrup: This vital ingredient is key to achieving that smooth, glossy, and professional candy finish, preventing crystallization.
- Water: Primarily serves as a solvent to dissolve the sugar, boiling off as the mixture reaches the critical ‘hard crack’ stage.
- Red Food Coloring: For that iconic vibrant hue, gel food coloring is highly recommended. Its concentrated nature ensures a brighter, more intense color, making your candy apples truly pop.
Tools of the Trade: Your Candy Apple Arsenal
- Apple Skewers: While popsicle sticks or even sturdy tree branches can work, bamboo skewers with pre-pointed ends offer effortless insertion and a professional touch.
- Candy Thermometer: An absolute necessity for precision. A thermometer with a pot clip is incredibly convenient, allowing you to monitor the temperature without constant manual holding. Accurate temperature is paramount for achieving the correct candy consistency.
Understanding the ‘Hard Crack Stage’
For those new to candy making, the ‘hard crack stage’ is a critical benchmark. Occurring between 300°-310°F (149°-154°C), it signifies that almost all water has evaporated from the sugar mixture. At this temperature, the sugar will harden into a brittle, glass-like candy, rather than remaining soft and chewy like taffy. Precision here is key!
Step-by-Step Guide to Perfect Candy Apples
1. Preparing Your Apples for Dipping
Thorough preparation ensures your candy coating adheres beautifully and without imperfections.
- Wash and Dry Meticulously: Apples often have a natural or applied wax coating that can prevent the candy from sticking and cause unsightly bubbles. Scrub them vigorously with a clean, textured scrubber under hot water, then rub them completely dry with a textured towel. For an extra measure, some prefer a quick 5-second dip in boiling water (no longer than 8-10 seconds to avoid cooking the apple), followed by immediate and thorough drying. Any residual moisture will lead to bubbles in your coating.
- Insert Skewers: Firmly push or gently tap your chosen wooden skewers or lollipop sticks halfway into the stem end of each dried apple. Set them aside, ready for their sweet transformation.
2. Crafting the Irresistible Candy Coating
- Prepare Your Workspace: Line a baking sheet with parchment paper or a silicone mat, then lightly spray it with nonstick spray or butter. This crucial step ensures your finished candy apples can be easily removed once cooled.
- Combine and Heat: In a sturdy saucepan, combine your granulated sugar, water, corn syrup, and red food coloring. Stir these ingredients together with a wooden spoon or silicone spatula over medium heat until the sugar dissolves. Clip your candy thermometer to the side of the pot, ensuring the tip doesn’t touch the bottom for an accurate reading. Bring the mixture to a rolling boil.
- Reach Hard Crack Stage: Continue to boil the mixture over medium-high heat for approximately 15-20 minutes, or until your candy thermometer registers between 300°-310°F (149°-154°C). Once the target temperature is reached, immediately remove the saucepan from the heat. Allow the mixture to rest for about a minute, letting any vigorous bubbles subside, resulting in a smooth, ready-to-dip coating.
3. The Art of Dipping
This is where the magic happens – and speed is your ally!
- Dip Quickly and Evenly: Working swiftly, carefully tilt your saucepan to one side to create a deeper pool of candy mixture. Grasp an apple by its skewer and dip it into the hot candy, swirling gently to ensure the entire apple is evenly coated.
- Allow Excess to Drip: Lift the apple from the coating, allowing any excess to drip back into the pan. This prevents pooling and ensures a perfectly thin, crisp shell.
- Set and Cool: Place the dipped apple onto your prepared baking sheet. Repeat with the remaining apples.
- Reheat if Necessary: Should the candy coating begin to thicken or harden before you’ve dipped all your apples, simply return the saucepan to medium heat for a brief period until it thins out to the desired consistency again.
CRITICAL SAFETY REMINDER:
The molten sugar is extremely hot and can cause severe burns. Exercise extreme caution, keeping skin well away from the mixture. Having a bowl of ice water nearby can be a quick first-aid measure in case of accidental contact.
For more details, visit our website.
Source: Link






Leave a comment