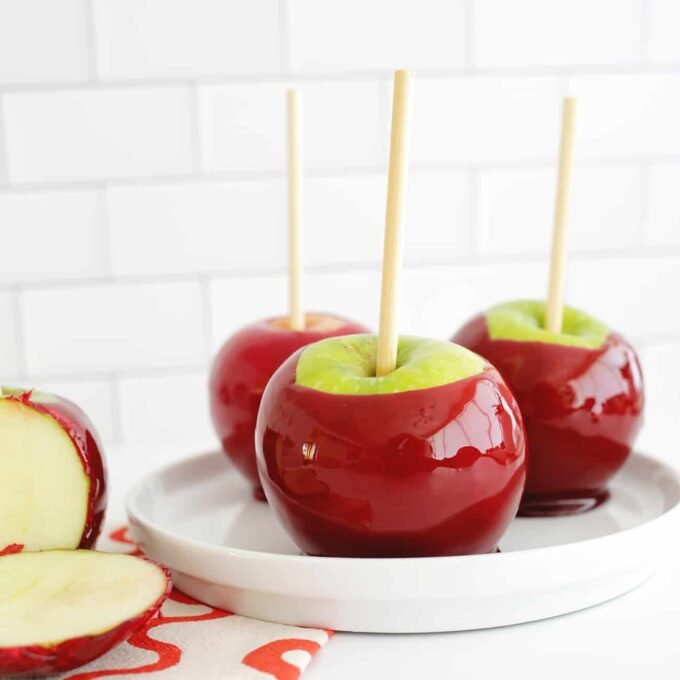



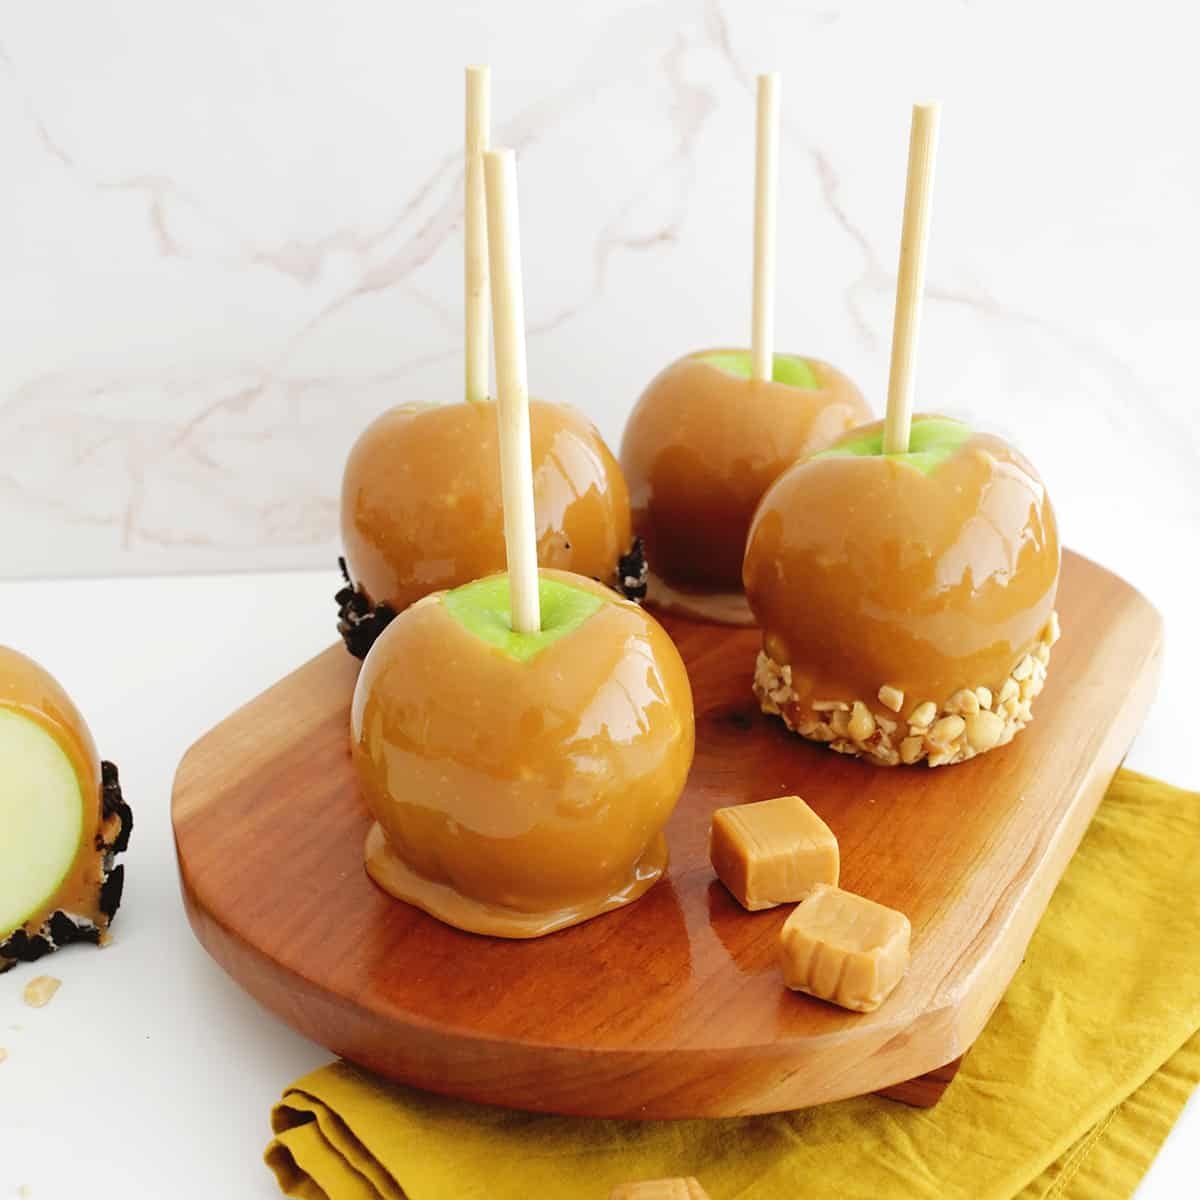

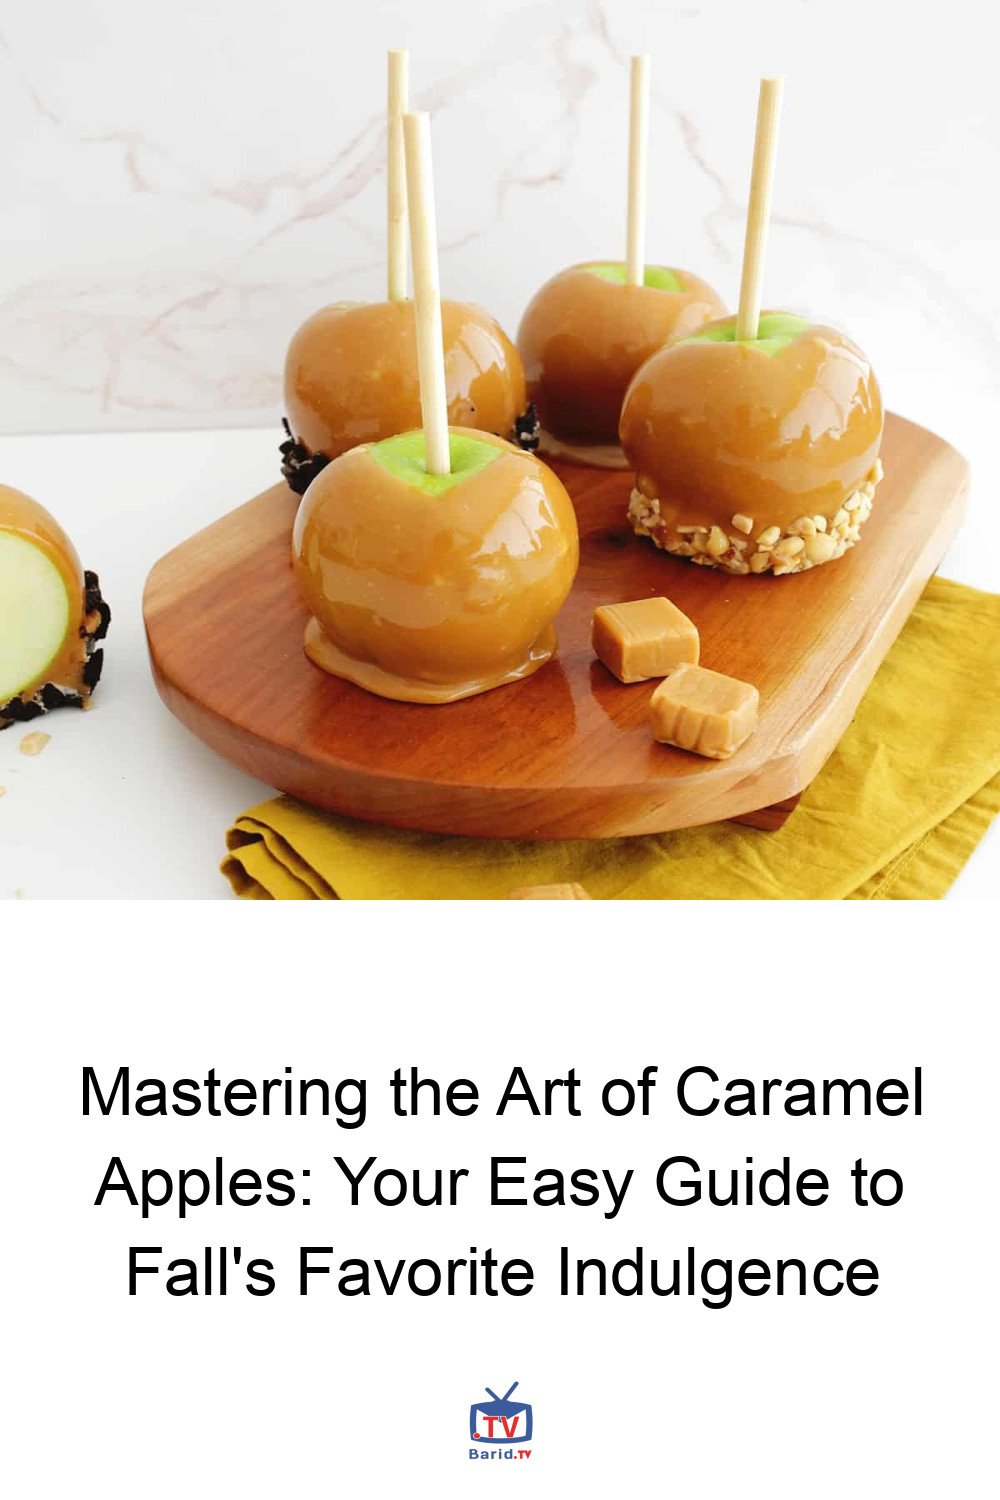
As the leaves turn golden and a crisp chill fills the air, few treats capture the essence of autumn quite like the classic caramel apple. While crafting caramel from scratch is a rewarding endeavor, this guide focuses on an effortlessly delicious method using store-bought caramels, ensuring you spend less time fussing and more time enjoying your gourmet creation. Perfect for festive gatherings, thoughtful gifts, or simply a cozy family treat on a blustery fall day, these caramel apples can be customized with an array of toppings to elevate them into a truly decadent delight.
Selecting Your Star: The Perfect Apple Base
The foundation of any great caramel apple is, of course, the apple itself. Your choice can significantly influence the final flavor profile, offering a delightful interplay of sweet and tart.
Sweet vs. Tart: A Matter of Taste
- For the Sweet Tooth: Varieties like Fuji, Honeycrisp, Gala, or Pink Lady offer a naturally sweet base that complements the rich caramel beautifully.
- For a Tangy Contrast: Granny Smith apples remain the undisputed champion for those who crave a vibrant tartness to cut through the caramel’s sweetness.
Firmness and Size Matter
Regardless of your preferred flavor, opt for firm apple varieties over softer ones like Macintosh. A firm apple provides that satisfying ‘crunch factor’ that makes a caramel apple so enjoyable. Consider the size too; larger apples offer a more generous fruit-to-caramel ratio, while smaller ones are perfect for individual servings or party favors.
Gather Your Gourmet Arsenal: Essential Ingredients
Creating these autumnal masterpieces requires just a few key components:
- Wrapped Caramels: The ultimate shortcut! Look for individually wrapped caramels in your grocery store’s baking aisle or produce section during fall. They melt smoothly and consistently, eliminating the need for a candy thermometer.
- Fresh, Firm Apples: As discussed, choose your preferred sweet or tart variety. A crucial step often overlooked is thoroughly washing the apples to remove any waxy coating, which can prevent the caramel from adhering properly.
- Heavy Cream or Milk: A small splash of cream or milk helps thin the melted caramel to the perfect “dippable” consistency, ensuring an even, luscious coating.
- Optional Toppings: This is where creativity truly shines! Transform your caramel apples into gourmet delights with additions like crushed candy bars (Butterfingers, M&Ms), pretzels for a salty crunch, colorful sprinkles, flaked sea salt, chopped nuts (pecans, walnuts), crushed Oreos, or shredded coconut. Melted dark, milk, or white chocolate chips can also be drizzled for an extra layer of indulgence.
Tools for a Seamless Dipping Experience
While the process is simple, having the right tools makes all the difference:
- Skewers or Sticks: Traditional wooden sticks are ideal, but popsicle sticks or even a sturdy fork can work in a pinch.
- Melting Vessels: A microwave-safe bowl for microwave melting, a saucepan for stovetop, or a double-boiler setup are all suitable. For smaller batches, a glass Pyrex measuring cup offers a convenient, deep container for easy dipping.
- Nonstick Surface: Prevent your freshly dipped apples from sticking by preparing a baking sheet lined with wax paper or parchment paper, or by lightly coating a plate with nonstick cooking spray.
Journalist’s Top Tips for Perfect Caramel Apples
Achieve professional-looking and tasting caramel apples with these insider tips:
- Wax Removal is Key: Don’t skip this! Run apples under hot water and gently scrub with a fruit wash, dish soap, and a textured towel to remove the waxy film. This ensures the caramel clings beautifully.
- Thoroughly Dry Apples: Any moisture will cause the caramel to slide off. Ensure your apples are completely dry before dipping.
- Chill for Success: After inserting skewers, chill your apples in the refrigerator for 15-20 minutes. Cold apples help the warm caramel set faster and minimize dripping. Return them to the fridge after dipping to expedite setting.
- Prep Your Toppings: If adding toppings, have them ready in shallow bowls before you start dipping. Caramel sets quickly, so you’ll want to roll the apple immediately after dipping.
- Chocolate Drizzle Timing: For chocolate drizzles, wait until the caramel has fully set and the apples are cool. Warm caramel will melt the chocolate, creating a messy finish.
Your Step-by-Step Guide to Irresistible Caramel Apples
- Prepare the Apples: Wash and thoroughly dry your chosen apples. Insert a skewer firmly into the stem end of each apple. For best results, chill the skewered apples in the refrigerator for 15-20 minutes.
- Melt the Caramel: In a microwave-safe bowl (or saucepan/double-boiler), combine the wrapped caramels and heavy cream/milk. Heat in 30-second increments (or over low heat on the stovetop), stirring well after each interval, until the caramel is smooth, melted, and easily dippable.
- Dip and Decorate: Holding the apple by the skewer, dip it into the melted caramel, rotating to coat evenly. Allow excess caramel to drip off. If adding toppings, immediately roll the caramel-coated apple in your prepared topping bowls.
- Set and Enjoy: Place the dipped apples on your prepared nonstick surface. Transfer to the refrigerator for at least 30 minutes to allow the caramel to fully set. Once firm, they are ready to be enjoyed or packaged as gifts!
With these simple steps and expert tips, you’re well on your way to crafting the perfect caramel apples that will be the highlight of any autumn celebration. Happy dipping!
For more details, visit our website.
Source: Link