


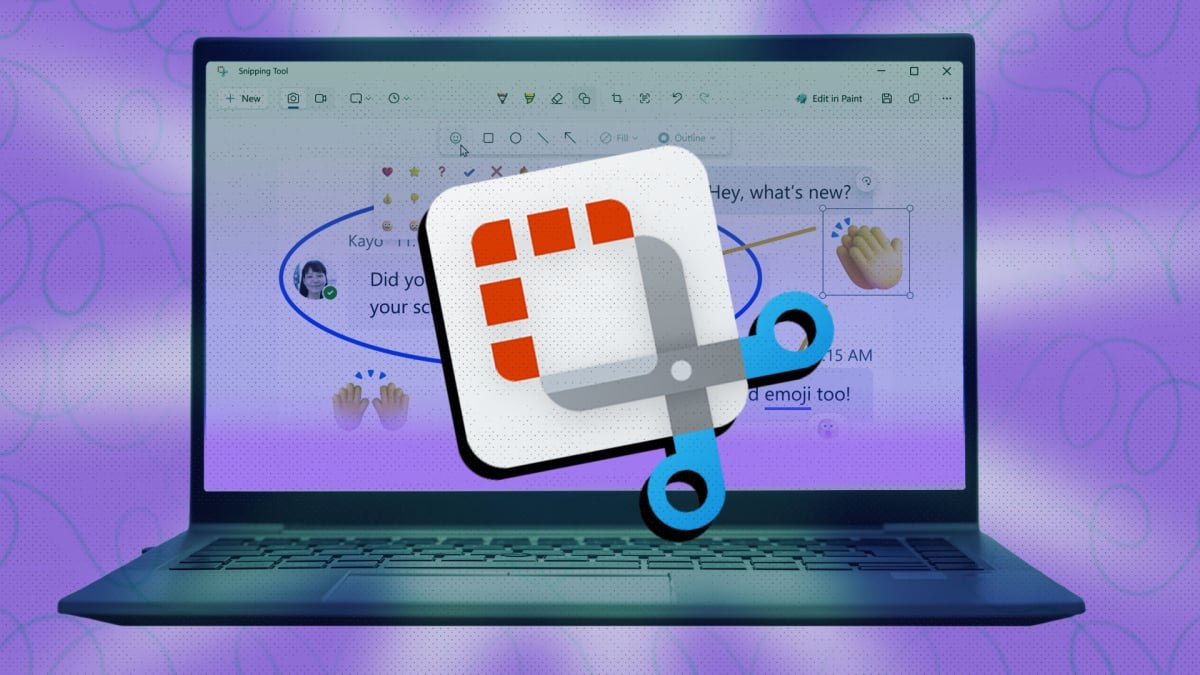

While often seen as a simple screenshot utility, Windows 11’s Snipping Tool has evolved into a surprisingly robust application, packed with features that can significantly boost your productivity. From extracting text to creating professional screencasts, it’s a tool that caters to both casual users and power users alike. Forget third-party alternatives for a moment; let’s dive into seven essential hacks that will transform your Snipping Tool experience.
Beyond Basic Screenshots: Unveiling Snipping Tool’s Hidden Powers
1. Effortless Text Extraction from Images with ‘Scan Text’
One of the most powerful, yet often overlooked, features of the Snipping Tool is its ability to perform Optical Character Recognition (OCR). Need to grab text from an image without retyping? Simply right-click any image in Windows 11, select “Open with” > “Snipping Tool.” Once loaded, click the ‘Scan Text’ button. The tool will intelligently identify all text within the image. You can then ‘Copy all text’ from the popover menu or precisely select specific sentences or blocks of text to copy, making data extraction a breeze.
2. Copy Text On-the-Fly: No Screenshot Needed
Imagine needing to copy text from a website that disables selection, an application’s interface, or a scanned PDF where text isn’t selectable. The Snipping Tool’s ‘Text Extractor’ feature is your solution. This ingenious function allows you to directly select and copy text from your screen without the intermediate step of taking a screenshot. Open the Snipping Tool, click the ‘Text extractor’ button in the toolbar, then click and drag over the desired text area. The app quickly processes and selects the text, ready for you to ‘Copy all text’ from the popover menu, streamlining your workflow and reducing clutter.
3. Safeguard Privacy with Automatic Redaction
Sharing screenshots often means inadvertently sharing sensitive information like phone numbers or email addresses. Snipping Tool offers a smart solution: automatic redaction. After taking a screenshot and opening it in the tool, click ‘Scan text’. Once the text is identified, a popover menu will appear. Select ‘Quick redact’ to instantly obscure all detected phone numbers and email addresses with solid black bars. This method is far more secure and professional than simply blurring, ensuring your sensitive data remains private.
4. Master the Perfect Shot with Timed Delays
Capturing complex or perfectly timed screenshots can be a challenge when the tool snaps instantly. Snipping Tool’s timer feature provides the control you need. For quick access, right-click the Snipping Tool icon in your taskbar and choose from 3, 5, or 10-second delay options. For a more permanent setting, open the app, click the camera icon, then the timer icon in the toolbar, and select your preferred delay. This allows you ample time to set up your screen exactly as you intend before the capture occurs.
5. Create Engaging Screencasts with Voice Commentary
Explaining tech issues or demonstrating software can be greatly enhanced with a screencast. Snipping Tool now allows you to record your screen with integrated microphone audio, making it an excellent tool for quick tutorials or support videos. To enable this, open Snipping Tool, click the three-dots icon (ellipsis) in the top-right corner, go to ‘Settings’, and enable ‘Include microphone input by default when a screen recording starts’. Now, you can record your actions and narrate simultaneously, guiding viewers with clarity and precision.
6. Elevate Your Screenshots with Custom Borders for Social Media
For those who share screenshots on social media or in presentations, a consistent, polished look is key. Snipping Tool offers a simple yet effective way to achieve this by automatically adding a solid color border to every capture. Navigate to Snipping Tool settings and enable ‘Add border to each screenshot’. Here, you can select your desired ‘Color’ and adjust the ‘Thickness’ of the border using a slider. This small touch can significantly enhance the aesthetic appeal and uniformity of your shared images.
7. Precision Captures with the Freeform Tool
Sometimes, a standard rectangular or window capture just doesn’t cut it. The Freeform tool within Snipping Tool allows for incredibly precise and creative captures. You can draw any irregular shape or outline on your screen, and the tool will capture everything within that custom boundary. It’s surprisingly forgiving, smoothing out minor imperfections in your drawing to ensure a clean snip. To utilize this feature, open the Snipping Tool application and select the ‘Freeform mode’ from the capture options, then simply draw your desired area.
With these advanced hacks, the Windows 11 Snipping Tool transcends its basic function, becoming an indispensable asset for productivity, communication, and privacy. Experiment with these features to streamline your workflow and make the most of this powerful built-in utility.
For more details, visit our website.
Source: Link