


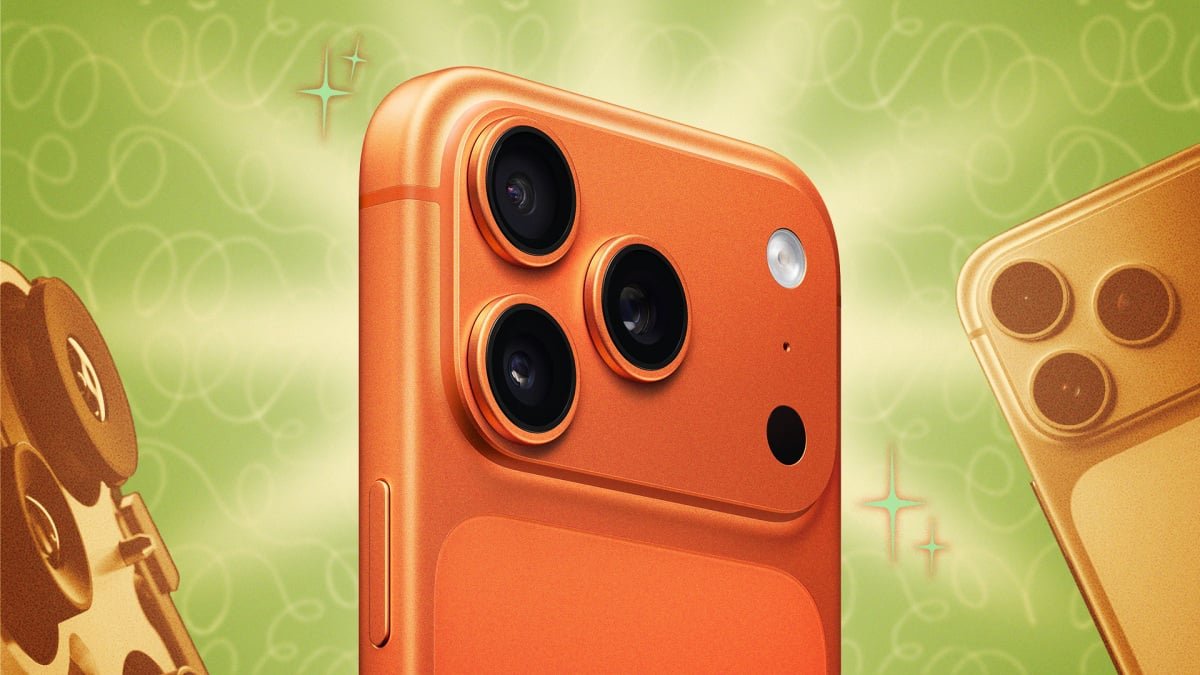

In an age where the best camera is truly the one you always have with you, the iPhone stands as an unparalleled photographic companion. While its out-of-the-box capabilities are impressive, capturing stunning photos and videos isn’t just about point-and-shoot. With a few expert tweaks and hidden settings, you can transform your iPhone into a professional-grade imaging tool. Having spent years delving into the nuances of the iPhone Camera app, we’ve uncovered a suite of powerful hacks designed to push its limits. Ready to elevate your mobile photography? Dive into these 10 essential tips and tricks to unlock your iPhone’s full creative potential.
Elevate Your Video: Shoot in Stunning 4K Quality
Many iPhone users unknowingly miss out on their device’s full video potential. While iPhones have supported breathtaking 4K video recording since 2015, Apple often defaults to 1080p to conserve storage space. This also applies to Slo-mo videos on compatible models. If storage is your primary concern, maintaining the default settings is understandable. However, for those who prioritize unparalleled video quality, a simple adjustment can make a world of difference.
Fine-Tuning Frame Rates and Features
To unlock superior video capture, navigate to
Settings > Camera, then select “Record Video.” Here, you can choose your preferred 4K frame rate. For a cinematic feel, 24 fps (frames per second) is ideal and uses the least storage. For incredibly smooth action shots, 4K at 60 fps (or even 120 fps on some models) offers exceptional detail but consumes significantly more space. While in these settings, consider personalizing other features. For instance, some professionals prefer to disable “Enhanced Stabilization” as it can introduce a slight crop to the image. Similarly, “HDR Video” can sometimes produce an overly bright or artificial look, depending on your aesthetic preference. Don’t forget to adjust your “Record Slo-mo” settings on the previous page for high-quality slow-motion footage. For quick adjustments, some iPhone models allow you to change resolution and frame rate directly within the Camera app by tapping the menu in the top or bottom left corner.
Unleash Professional Photography with ProRAW
Just as with video, Apple’s default photo settings strike a balance between image quality and storage. However, for serious photographers, your iPhone is capable of capturing far more detail, especially if it supports ProRAW. ProRAW is Apple’s proprietary RAW image format, designed to retain significantly more image information per shot compared to a standard JPEG. This wealth of data not only enhances overall image quality but also provides immense flexibility during post-processing, making it perfect for intricate edits or producing high-quality large prints.
Understanding ProRAW Max and Storage Considerations
If you own an iPhone 12 Pro or a later model, you can leverage ProRAW. Owners of an iPhone 14 Pro or newer can even access ProRAW Max, which packs an even greater amount of data, potentially allowing for stunning 48MP images. While this provides an incredible canvas for editing, it’s crucial to be mindful of storage. ProRAW images are typically 10 to 12 times larger than standard JPEGs, and 48MP ProRAW files are even more substantial. To enable ProRAW, go to
Settings > Camera > Formats, then select “ProRAW & Resolution Control.” For iPhone 14 Pro users and newer, the megapixel setting can be toggled directly within the Camera app by tapping the format button. For other compatible iPhones, these options will be found within the Settings pane.
Prevent Accidental Camera Launches and Save Battery
Modern iPhones offer numerous convenient ways to access the camera, from the Home Screen app and Control Center tile to Lock Screen shortcuts and even physical button presses. While this accessibility is generally a boon, it can also lead to frustrating accidental launches, particularly when your phone is in a pocket or bag, leading to unwanted photos and battery drain. If you find yourself constantly battling these unintended activations, it’s time to take control.
Disabling Unwanted Camera Access Points
Here’s how to disable various camera launch methods to prevent accidental activations:
- Home Screen App: To remove the Camera app icon from your Home Screen, long-press the icon, choose “Remove App,” then select “Remove from Home Screen.” (Note: The app remains in your App Library).
- Control Center Tile: Open your Control Center, tap the (+) icon in the top left corner (or navigate to Settings > Control Center), then tap the minus symbol next to the Camera tile to remove it.
- Lock Screen Shortcut: On your Lock Screen, long-press an empty space to enter the customization editor. Tap “Customize,” then tap the minus symbol next to the Camera shortcut. You can then replace it with another function or leave the space blank.
- Lock Screen Swipe: To disable the ability to swipe left from the Lock Screen to open the camera, go to Settings > Camera, scroll down, and toggle off “Lock Screen Swipe.”
By implementing these expert camera hacks, you’re not just using your iPhone; you’re mastering it. From capturing cinematic 4K videos to preserving rich detail with ProRAW, and even streamlining your user experience by preventing accidental launches, these adjustments will significantly enhance your mobile photography journey. Experiment with these settings and discover the true power hidden within your pocket-sized studio.
For more details, visit our website.
Source: Link